Back to Codex

Fleet

Companion ships: finding their blueprints, unlocking berths, building, repairing, and the six designs with their real numbers.

Fleet — Pirate Twist

How the fleet works

From plans to a fleet #

Collect fragments to learn a ship design, then visit Fleet / Blueprints at Port to build it. Assign the built ship to an unlocked berth before sailing. Your flagship can bring two different companion ships. Learned designs, fragment progress and Repair Blueprints stay with your profile across campaigns and captains; commissioned ships belong to the current campaign.
Where to find blueprint fragments #

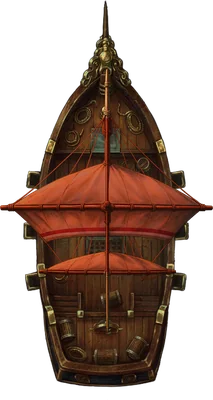
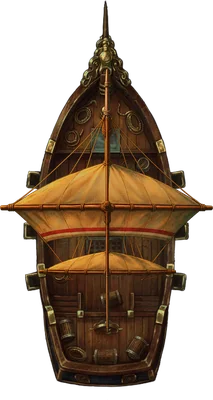
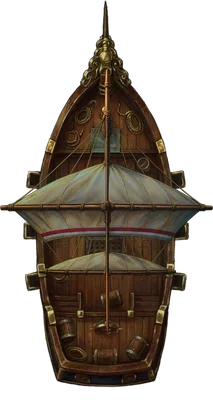
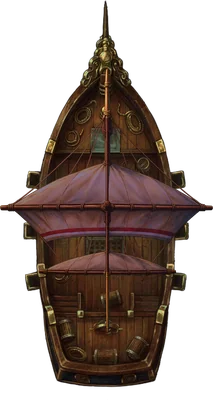
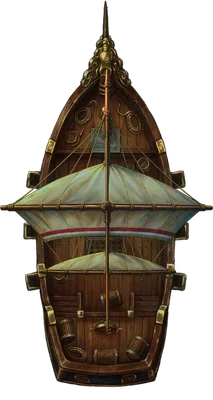
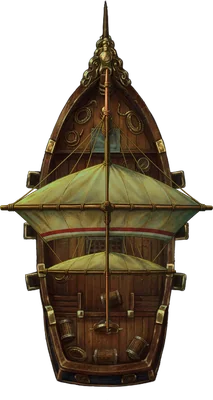
BOSSES: defeat a boss and choose one ship-specific fragment from the reward offer. TRADING POSTS: open Fleet Blueprints and buy the offered fragments with gold. Each offer can be bought once per visit; the ships and prices are shown before you buy. ELITE SHIPS: plunder or board an elite for a chance of recovered plans. Simply sinking an elite gives no blueprint fragment. Your first elite plunder of a run awards a figurehead instead. Collect the required number for the same design to learn it. The six designs and their fragment requirements are pictured below.

Unlocking companion berths #

FIRST BERTH: win a campaign with two different captains and complete one blueprint. You can collect fragments before unlocking this berth. SECOND BERTH: complete three different blueprints and win a campaign in which you commissioned a companion ship.

Build, assign and swap #

At Port, select a learned design and BUILD it for 500 gold, 250 wood and 250 iron. You can build each design once per campaign. Select a berth, choose the built ship, then ASSIGN it. Assignments and swaps at Port are free; the same design cannot occupy both berths. Ships left unassigned remain in your campaign's reserve. A new campaign needs new commissions.

Repair Blueprints and sunk ships #

Once a design is learned, each extra fragment or blueprint copy becomes one Repair Blueprint for that specific design. They persist between campaigns. A sunk companion needs one of its Repair Blueprints to be rebuilt at Port. Ordinary hull damage uses REPAIR FLEET and resources instead; it does not spend Repair Blueprints. The Trading Post can also repair afloat companions.

Hull upgrades #

HULL upgrades at Port add 40 base hull and reduce reload time by 4% per tier, up to 5 tiers. Upgrades persist for that design across campaigns. Each sinking removes one tier. The ship cards below show the base design with no HULL upgrades; hull at sea also scales with the campaign's threat level. Fixed equipment bonuses and rarity traits are already included in the displayed stats.

Orders, formation and stance #

Use the Fleet command panel at sea to ENGAGE an enemy, DEFEND THE SHIP, DEFEND THE HARBOUR or REGROUP. At Port, choose formation, spacing and fighting stance. Open Order spreads companions line abreast; Close and Extended Order use the selected formation. Companion equipment is fixed by design, so pick ships whose guns and protection suit your plan.

The six designs

Base designs with no HULL upgrades, as the game's own Codex shows them. Hull at sea also scales with the campaign's threat level. Fixed equipment bonuses and rarity traits are already included in the stats.

Gullwing

Gullwing #

A swift scout and interceptor. Light guns and a fragile hull reward careful positioning. Crow's Nest: +75 max hull. Doubled Hull Planking: -15% ram damage taken, -10% ram push taken.

Rarity
Common
To learn
6 fragments
Fragment price
300 gold
Hull
175
Speed
8.5
Cannons
2 total / 1 per side
Damage per shot
35
Reload
2.5s
Oakbound

Oakbound #

A dependable screen for the flagship. Strong timber protection without a heavy ship's slow pace. Reinforced Hull: +80 max hull. Breasthook & Riders: -30% ram damage taken, -20% ram push taken.

Rarity
Common
To learn
6 fragments
Fragment price
300 gold
Hull
280
Speed
7
Cannons
2 total / 1 per side
Damage per shot
35
Reload
2.5s
Red Wake

Red Wake #

An aggressive raider built for deliberate ramming passes and disruption. Iron-Shod Beakhead: +50% ram damage, +25% ram push, -25% self-jolt. Doubled Hull Planking: -15% ram damage taken, -10% ram push taken. Ram Figurehead I: +40% ram damage, rams ignore bracing, rammed ship loses its helm 2s. 15% faster reload.

Rarity
Uncommon
To learn
9 fragments
Fragment price
450 gold
Hull
230
Speed
8.2
Cannons
2 total / 1 per side
Damage per shot
35
Reload
2.12s
Brass Jack

Brass Jack #

A steady broadside gunship. Its fixed gun deck improves damage and reload. Reinforced Hull: +80 max hull. Gun Deck I: -20% reload, +15% cannon damage. 15% faster reload.

Rarity
Uncommon
To learn
9 fragments
Fragment price
450 gold
Hull
240
Speed
6.8
Cannons
4 total / 2 per side
Damage per shot
40.25
Reload
1.7s
Iron Vow

Iron Vow #

A slow defensive anchor. Heavy guns and an armoured figurestone hold a protected position. Armor Plating: +100 max hull. Copper Sheathing: -35% ram damage taken, -25% ram push taken. Armoured Belt I: -15% damage from cannon fire, -30% ram damage taken, 50% of it back at the rammer, rakes against you pay no bonus. Repairs 15% hull after each battle.

Rarity
Rare
To learn
12 fragments
Fragment price
600 gold
Hull
420
Speed
5.8
Cannons
2 total / 1 per side
Damage per shot
60
Reload
4s
Black Lantern

Black Lantern #

A fragile privateer with fast culverins. Strong attacking passes, little room for mistakes. Hull Plating: +50 max hull. Gun Deck II: -25% reload, +20% cannon damage. Repairs 15% hull after each battle.

Rarity
Rare
To learn
12 fragments
Fragment price
600 gold
Hull
180
Speed
7.8
Cannons
4 total / 2 per side
Damage per shot
54
Reload
2.25s