Back to Codex

Combat

How the ship actually handles — throttle, steering, broadsides, ramming, and what enemy levels change.

Combat — Pirate Twist

How the ship handles under your hands. Read Gears and Broadside Arc first — almost every death early on is a ship that could not turn its live side onto a target in time.

Gears

Gears #

Your ship has a throttle, not a thrust pedal. W upshifts (or press 1/2/3 to jump straight there), S downshifts. Gear 1 is ~33% top speed, Gear 2 is ~67%, Gear 3 is full speed. Downshift to Neutral and the engine cuts. Water resistance does ALL the braking, so coasting from Gear 3 takes much longer than coasting from Gear 1. Press S again from Neutral to engage Reverse. Gear also decides how well you turn: Gear 1 is the best-handling state in a fight, Gear 3 the widest turns.
Steering

Steering #

A and D pivot the ship. Steering works at any gear, including while coasting through Neutral or transitioning into Reverse. Useful after a collision when your throttle is forced back to N.

Broadside Select

Broadside Select #

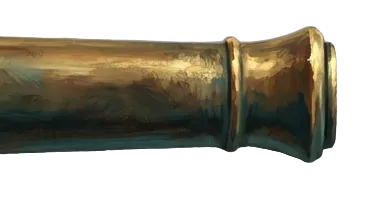
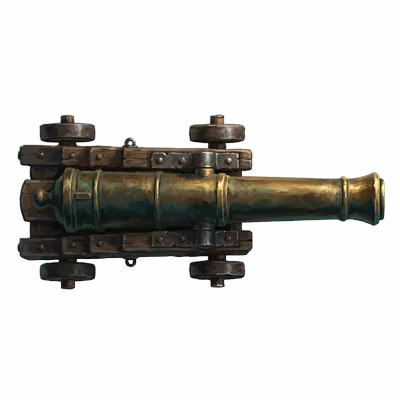
Press E to choose which side is live: port or starboard (gamepad: left/right shoulder). No mouse, no target lock: the live side's cannons run out and warm from dark to brass as they reload, the idle side is hidden, and a gunner barks 'Fire in the hole!' when they're loaded.

Broadside Arc

Broadside Arc #

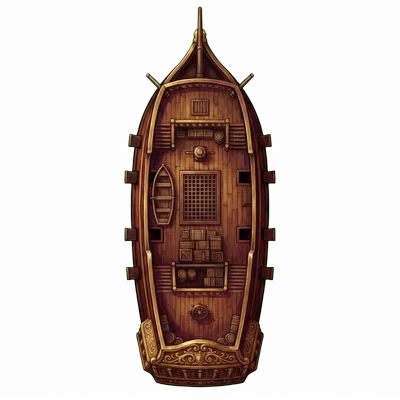
Cannons fire straight out the side you've selected, roughly perpendicular to the hull (about 120 degrees arc each side, 60 degrees dead zone fore and aft). Turn the ship (gears + A/D) so your live broadside faces the enemy, then fire. You can't shoot over the bow or stern.

Firing

Firing #

Auto-fire (default) discharges your live broadside at any enemy in view as the guns reload; switch to Manual in Settings to fire on Space instead. Either way the shots leave the side you picked with E. Cannons reach about 12 game-units; shots beyond that splash short.

Shot Types

Shot Types #

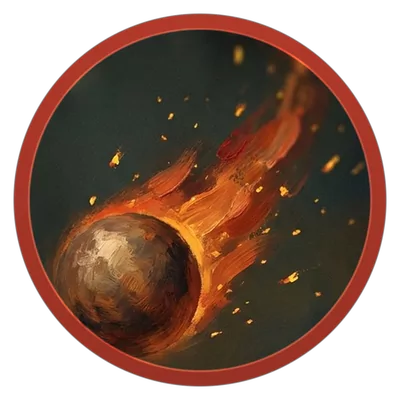
Round Shot is free and never runs out: the balanced load that just hits the hull. The three specials are bought at Port and spent per shot, per cannon. CHAIN tears sails, so a chained ship crawls and answers its helm worse. GRAPE shreds crew, so a graped ship reloads slower and eventually stops firing. FIRE sets the target ablaze for a burn that keeps hurting after the shot lands. Fire needs five seconds to heat between volleys, and the guns hold until it's ready. A fire volley's chance to ignite is rolled once for the whole broadside and BANKED until a ball actually connects, so a salvo that misses hasn't wasted its spark.

Raking

Raking #

Where a shot lands on the target matters. Hits along the bow or stern do far more than a shot into the side, and a shot straight up the stern is the biggest payoff in the game. It cuts both ways: keep your own bow and stern off an enemy's gun line.

Ramming

Ramming #

Drive your bow into an enemy and you ram them. A ram is directional. The ship that lands the bow-on hit holds its line while the one that's struck is shoved back and rocked. Damage scales with your closing speed: a Gear-3 charge bites deep into the hull, a slow nudge barely chips. Fit a Ram Prow module to hit harder, or Hull Bracing to take less when you're rammed. A freshly-rammed ship can't fire for a moment. A hard charge can buy you a clean broadside. Enemies steer to avoid contact, so a solid ram is a deliberate hit, not a passing brush.

Stunned

Stunned #

While stunned, neither side can move OR fire. Both wait out the second. The reload bar pauses, the engine sits idle, the cannons hold. Sip the time to reposition or pick your next move.

Wind

Wind #

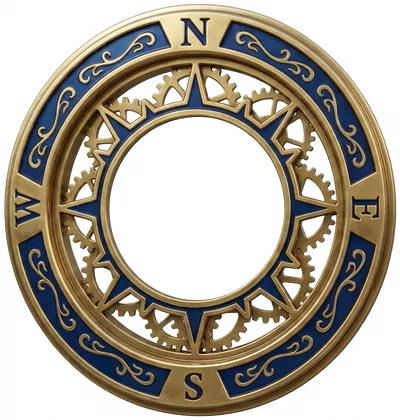
The breeze has a heading and the compass shows it. Running with the wind is fastest and beating straight into it is slowest — how much that costs depends on the hull, since some ships hold their speed upwind better than others. Roughly one fight in ten is becalmed, and heading stops mattering entirely. Otherwise the wind keeps a rough quarter and breathes around it rather than swinging wildly, so a point of sail you found early is still worth something a minute later.

Sea Resistance

Sea Resistance #

Water drag scales with speed. Gear 3 carries the most momentum, so coasting through Neutral or shifting into Reverse takes the longest from full speed. Downshift early if you want to stop quickly.

Enemy Levels

Enemy Levels #

Pirates get stronger the deeper you sail. Every ship rolls a level from a band set by the map you are on, and each map raises that band; the expedition's boss captain sits well above the top of it. Levels raise hull, cannon damage and rate of fire, so a late pirate reloads faster and takes more to sink. Speed never scales. Each New Game+ lap lifts the whole band again.