Back to Codex

Enemies

The ships hunting you, how they behave, and where each one is soft.

Enemies — Pirate Twist

Hulls you will meet

The regular pirate fleet, in rough order of threat. Each hull wants a different answer — kite the Sloop, circle the Galleon, and kill the Fireship before it ever reaches you.

Pirates run out more guns the deeper you sail. On the first map a regular hull fires one gun a side, an elite two, a captain two. From the second map on it's two, three and three. Every gun is a separate ball in the volley, fired one after the other down the hull, so a late-campaign broadside is three times the weight of an opening-map one. An Ascension lap skips the first-map easing entirely.

Sloop

Sloop #

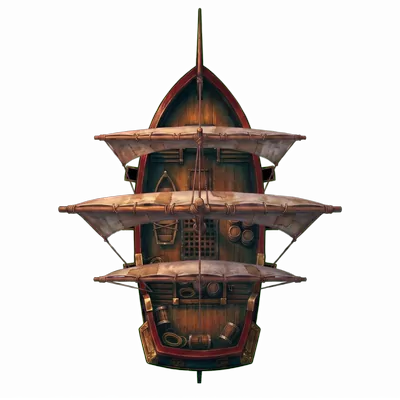
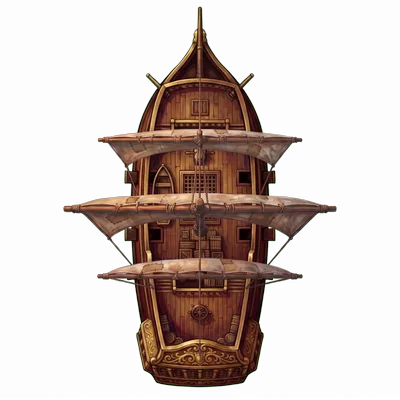
Fast, lightly-armoured raiders. They brake and present a broadside at engage range (~10u) instead of orbiting, so they'll hold a gun line rather than charge. Low HP (a couple of broadsides will sink one), but they'll close on you and ram if you let them in close. Keep distance, present your own broadside, and pick them off across the gun line.
Brigantine

Brigantine #

Mid-tier raider with balanced cannons and hull. Often spawns in pairs; one engages while the other flanks. The bread-and-butter of late-expedition fights.

Galleon

Galleon #

Heavy gunship. High HP and damage but slow to turn. Survive its broadsides long enough to circle behind, then unload. Its rear arc is the soft spot.

Fireship

Fireship #

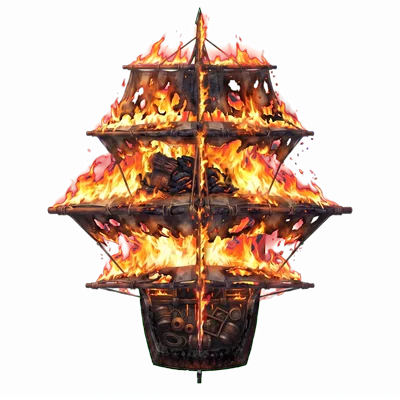
Suicide rammer. Sets itself ablaze and charges straight at you. Sink it BEFORE it closes, or break its line of approach so it overshoots. Massive damage on contact.

Elite Ships

Elite Ships #

Any pirate hull can come up an ELITE: double the hull, guns a touch faster, a little slower through the water and visibly bigger on screen, so you can tell before the first broadside. They pay double gold to match. Elites are unheard of on the first map and certain by the last, thickening steadily in between. Two encounters are nothing but elite: the CORSAIR, a one-on-one duel against a cut-down elite that can turn up on any unknown node from the very first chart, and the SCOURGE, the same duel against a full one, kept away from the opening map.

Pirate Captain (Boss)

Pirate Captain (Boss) #

Every expedition ends with a named pirate captain drawn from a rotating pool. Each has a distinct ship and quirk (some are tankier, some ram you, some out-gun you), and each fits a different gun: light guns crack, heavy guns boom, and a mortar lobs — you can hear which battery just fired. They all carry GRAPE and FIRE from the first map and add CHAIN from the second, and the deeper you meet them the better their prow and bracing, so ramming a captain late is a worse idea than ramming one early. They hit harder and soak far more than the pirates leading up to them. Same controls as a normal fight, just a longer, meaner duel.

The pirate captains

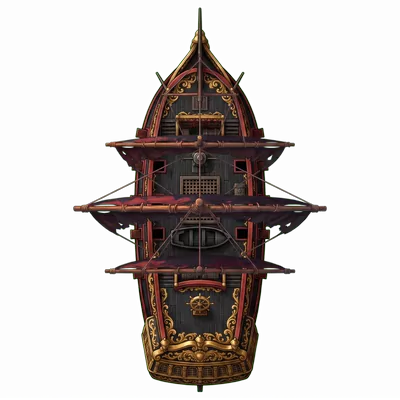
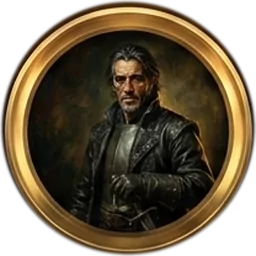
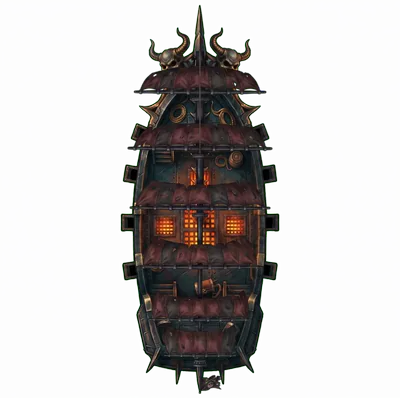
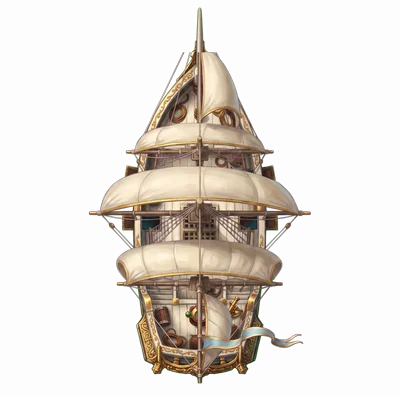
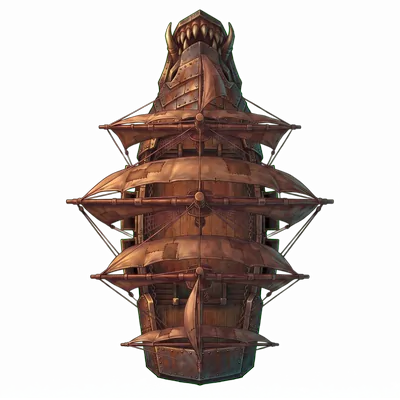
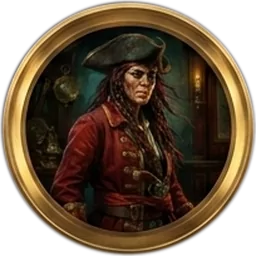
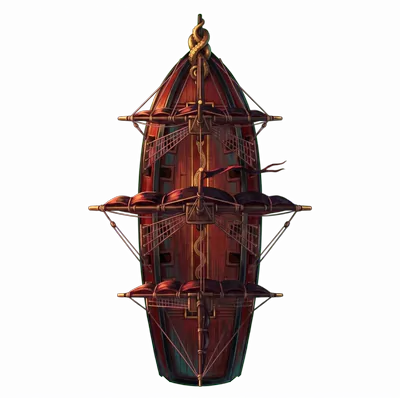
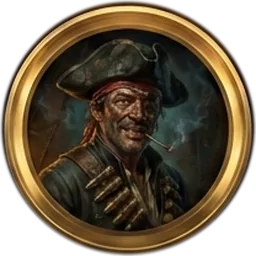
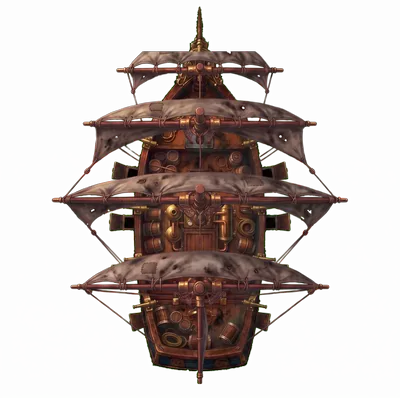
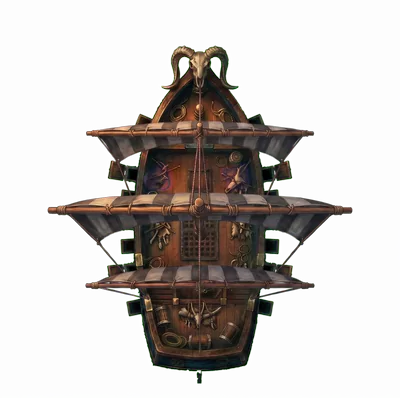
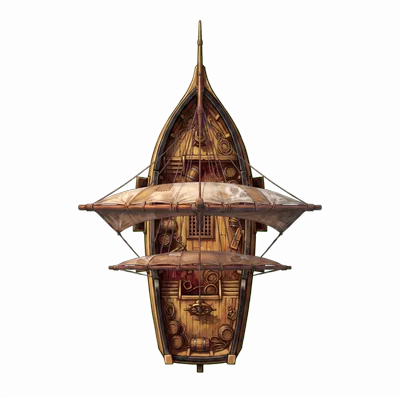
Every expedition finishes with one of these six, and a run draws three distinct captains — seeded by run number folded with your own captain, so the draw is deterministic and a mid-fight Save & Quit brings back the same duel. Stats below are the base asset; the fight you meet is scaled by map depth, difficulty and New Game+ lap, and a boss takes the full NG+ ladder where an ordinary hull takes a gentler one. Speed is the single stat nothing scales. Every captain sails with grape and fire shot from map 1 — no boss is ever a round-shot pushover — with chain joining later; specials share a 5-second cooldown and only fire in their own range, so round shot fills the gaps. Kill one while she is ablaze and she surrenders half her cargo. Each captain now sails a hull painted for her alone — the ship beneath each portrait is the one you actually meet. Every captain also fits a prow-and-bracing kit that scales with depth (×0.6 map 1, ×1 map 2, ×1.4 map 3); the figures below are that kit at full depth, which is why ramming a captain late is a worse idea than ramming one early. Gun class picks the fire report today — light guns crack, heavy guns boom, a mortar lobs — and its ballistics land with the weapon expansion, which is also when the two mixed batteries stop being placeholders.

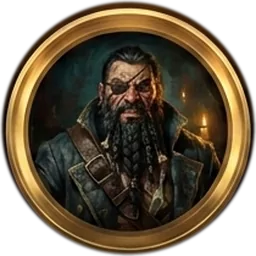
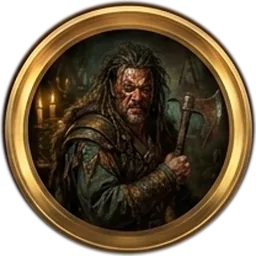
Captain BlacksteelCaptain Blacksteel’s ship

Captain Blacksteel #

2,400 base hull28 dmg0.6 shots/s6.8 speed65°/s turn12u engage13 ball speed±4° spread

Role
Line of battle
Battery
Heavy · Heavy
Guns per side
2 on map 1, 3 from map 2
Ammo ladder
Grape → Fire → Chain
Ram kit at depth
Bracing −42% ram damage / −28% ram pushback
Tactics
Broadside 40% · Circle 35% · Rear 25%
At zero hull
Last stand
Hull by map
1,800 / 2,400 / 3,000 on Captain difficulty
Bounty
200 Gold · 70 Wood · 50 Iron
Deadeye Saint-CyrDeadeye Saint-Cyr’s ship

Deadeye Saint-Cyr #

2,600 base hull34 dmg0.45 shots/s6 speed55°/s turn16u engage18 ball speed±2° spread

Role
Sniper
Battery
Heavy · Light (mixed, pending the weapon expansion)
Guns per side
2 on map 1, 3 from map 2
Ammo ladder
Fire → Grape → Chain
Ram kit at depth
Bracing −14% ram damage
Tactics
Broadside 70% · Circle 20% · Rear 10%
At zero hull
Last stand
Hull by map
1,950 / 2,600 / 3,250 on Captain difficulty
Bounty
180 Gold · 60 Wood · 45 Iron
Ironjaw HoltIronjaw Holt’s ship

Ironjaw Holt #

2,800 base hull30 dmg0.5 shots/s4.5 speed45°/s turn13u engage11 ball speed±4° spread

Role
The wall
Battery
Mortar · Mortar
Guns per side
2 on map 1, 3 from map 2
Ammo ladder
Fire → Grape → Chain
Ram kit at depth
Bracing −63% ram damage / −49% ram pushback
Tactics
Broadside 65% · Circle 10% · Rear 25%
At zero hull
Last stand
Hull by map
2,100 / 2,800 / 3,500 on Captain difficulty
Bounty
170 Gold · 60 Wood · 45 Iron
Mara Bloodtide VaneMara Bloodtide Vane’s ship

Mara Bloodtide Vane #

2,300 base hull18 dmg0.6 shots/s7.8 speed90°/s turn11u engage13 ball speed±4° spread

Role
Raider
Battery
Light · Light
Guns per side
2 on map 1, 3 from map 2
Ammo ladder
Grape → Fire → Chain
Ram kit at depth
Prow +28% ram damage / +21% ram pushback, −21% own jolt
Tactics
Broadside 15% · Circle 55% · Rear 30%
At zero hull
Last stand
Hull by map
1,725 / 2,300 / 2,875 on Captain difficulty
Bounty
150 Gold · 50 Wood · 35 Iron
Powderkeg QuinnPowderkeg Quinn’s ship

Powderkeg Quinn #

2,500 base hull14 dmg1 shot/s6.6 speed70°/s turn12u engage14 ball speed±5° spread

Role
Firebrand
Battery
Light · Light
Guns per side
2 on map 1, 3 from map 2
Ammo ladder
Fire → Grape → Chain
Ram kit at depth
Prow +14% ram damage
Tactics
Broadside 55% · Circle 30% · Rear 15%
At zero hull
Last stand
Hull by map
1,875 / 2,500 / 3,125 on Captain difficulty
Bounty
170 Gold · 55 Wood · 40 Iron
Kael the Reaver BronKael the Reaver Bron’s ship

Kael the Reaver Bron #

2,100 base hull20 dmg0.4 shots/s8.5 speed100°/s turn10u engage12 ball speed±6° spread

Role
Rammer
Battery
Heavy · Mortar (mixed, pending the weapon expansion)
Guns per side
2 on map 1, 3 from map 2
Ammo ladder
Grape → Fire → Chain
Ram kit at depth
Prow +70% ram damage / +56% ram pushback, −49% own jolt · Bracing −21% ram damage
Tactics
Broadside 10% · Circle 25% · Rear 65%
At zero hull
Ram
Hull by map
1,575 / 2,100 / 2,625 on Captain difficulty
Bounty
160 Gold · 50 Wood · 40 Iron